GCP Vertex AI Agent Builder 部署 part 1 - 使用 Dialogflow Messenger
這篇說明如何把前幾篇的 ChatWithArxiv 輸出 (或是連結) 到 WebChat,官方說法是 Diagflow Messenger,不過預期就是會輸出一段 JavaScript 會連結到 GCP project 對應的 Agent 。
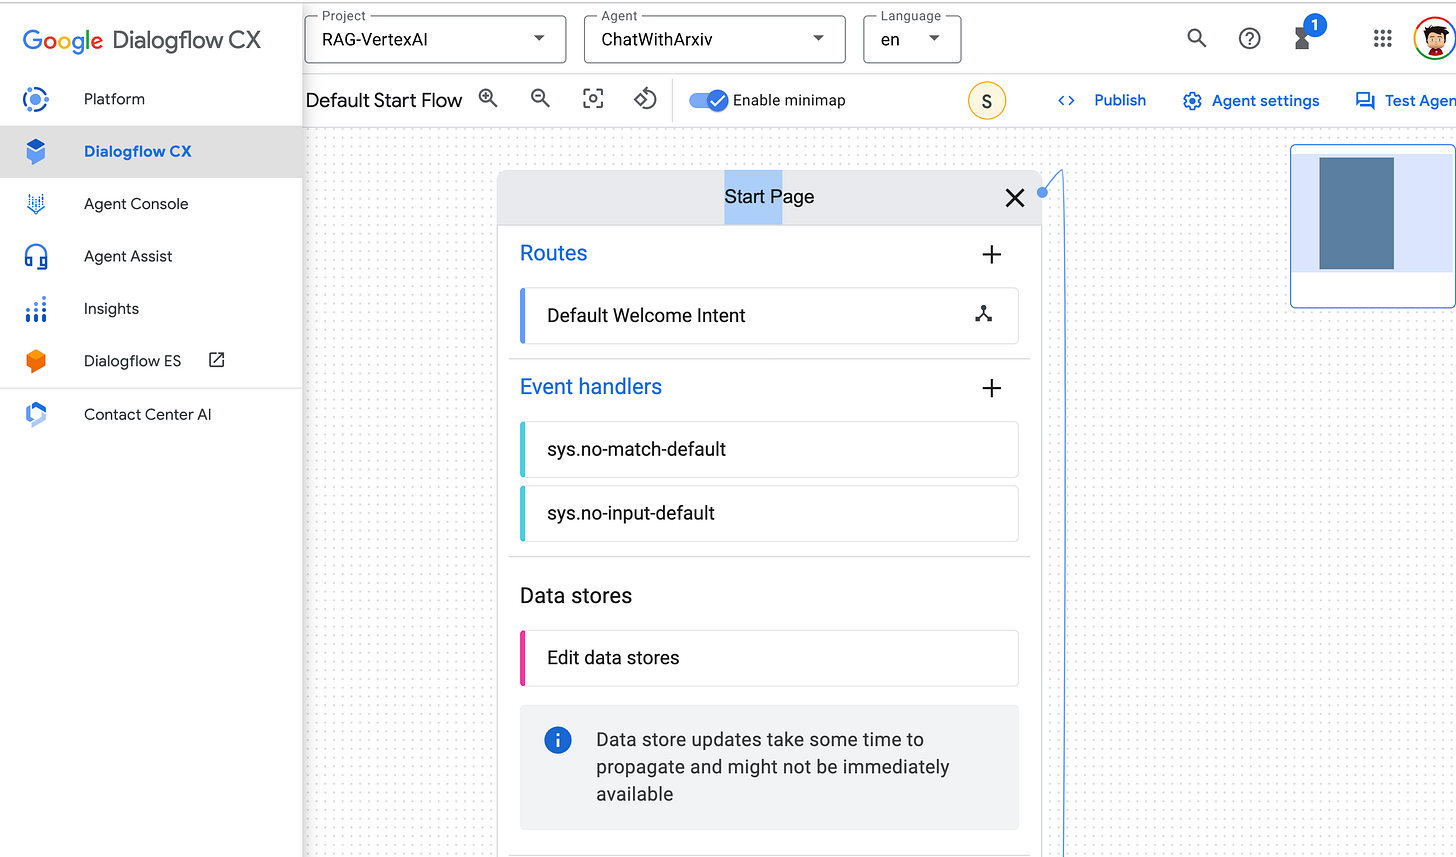
Step 01. 點選左上方,Dialogflow CX (https://dialogflow.cloud.google.com/
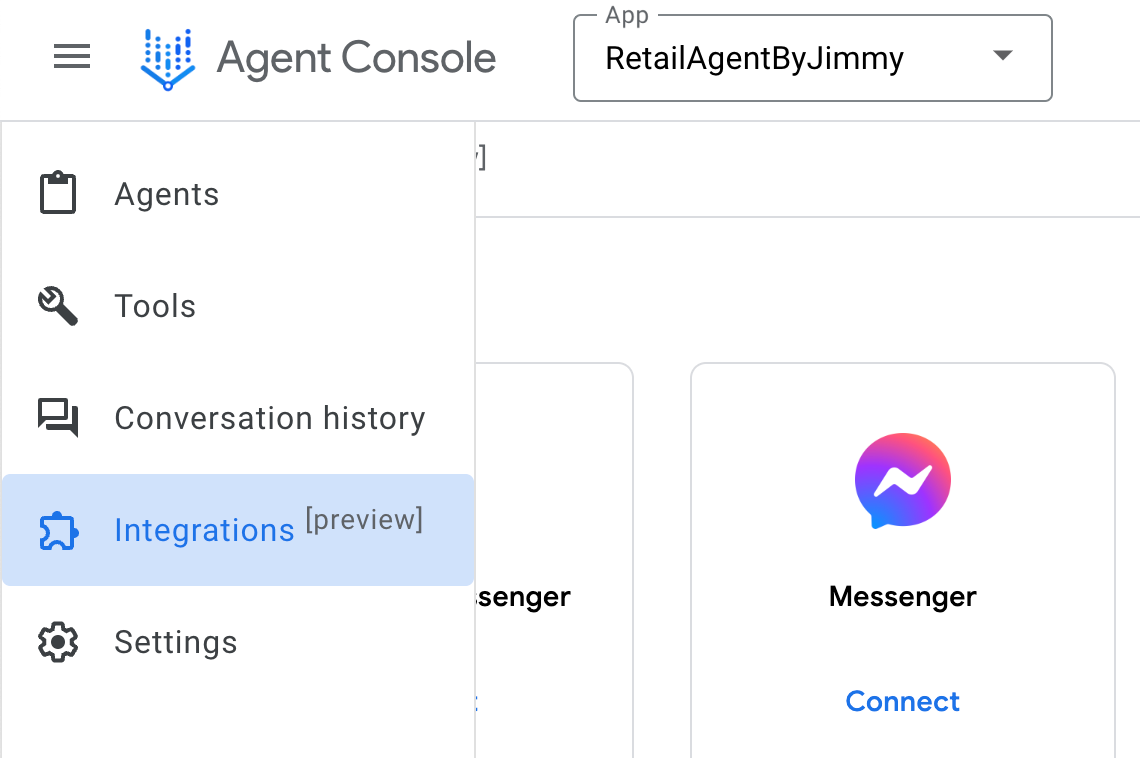
Step 02. 點 Integrations
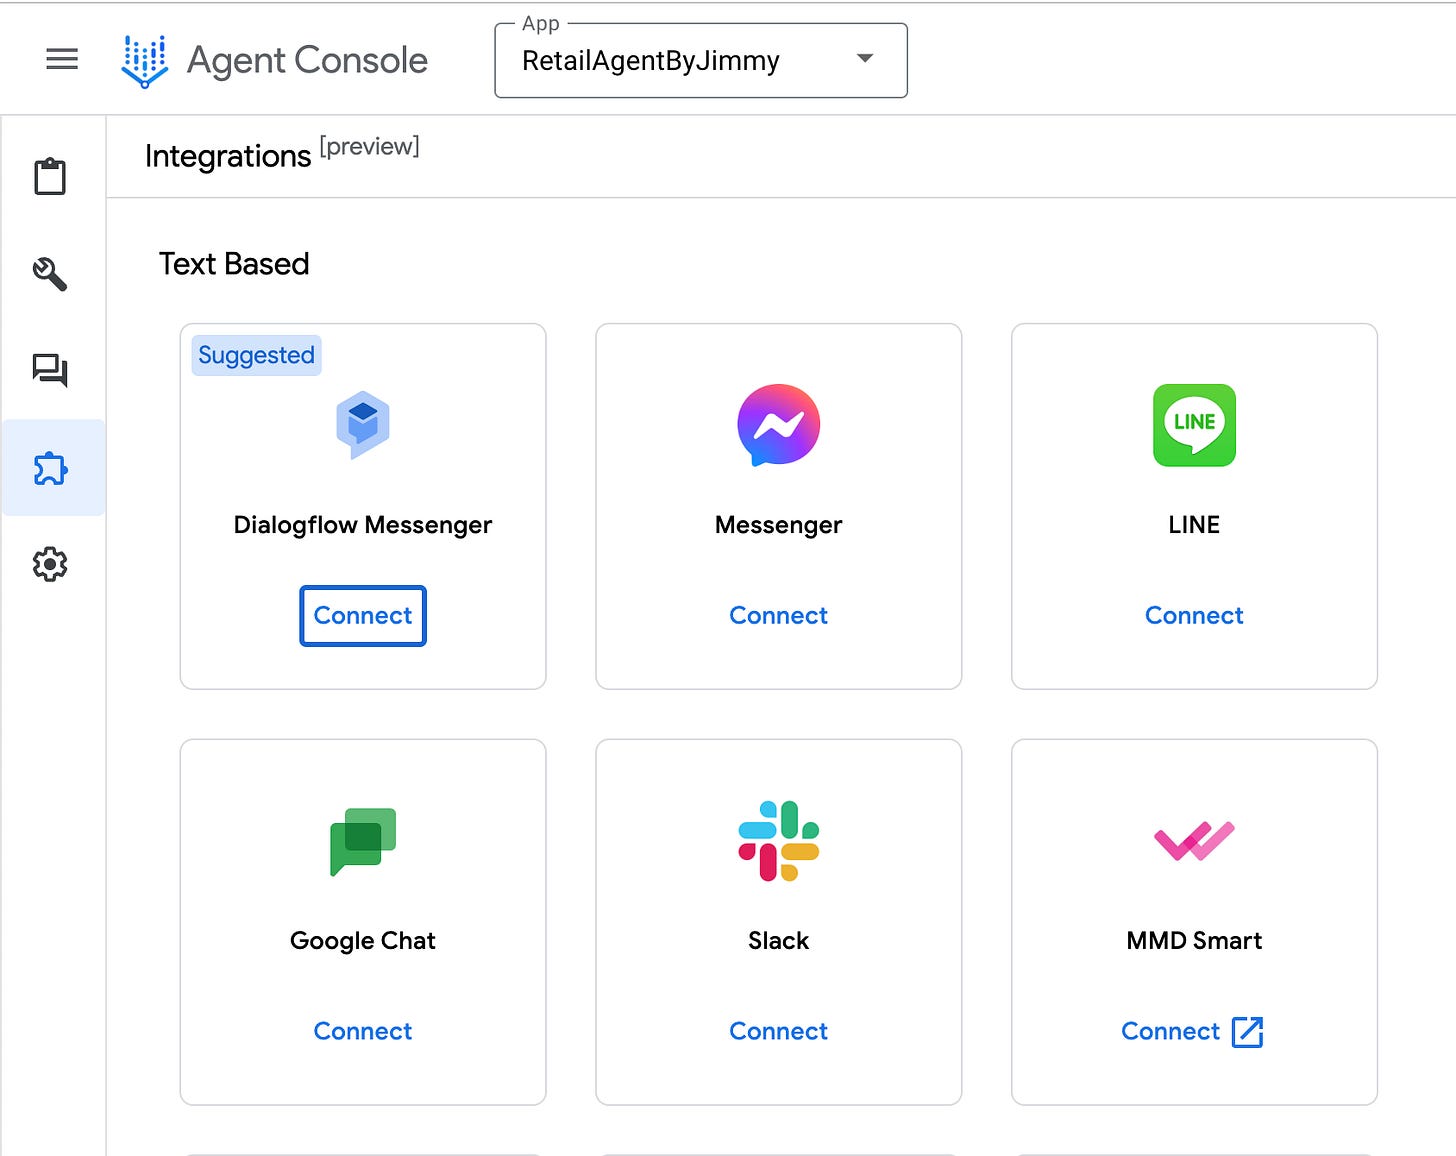
Step 03. 點選 Dialogflow Messenger
跳出一段 code snippet 要你複製,貼上。
建議先點選 View Document 看一下詳細設定。
https://cloud.google.com/dialogflow/cx/docs/concept/integration/dialogflow-messenger
重點:如果 Code snippet 跑不起來,建議看一下官方說明文件的 Example,會包括完整的 html code,你只需要把你的 project id and agent name 替換掉即可。
Example: https://cloud.google.com/dialogflow/cx/docs/concept/integration/dialogflow-messenger#example
Step 04. 拿到 test code snippet 之後,存成 index.html,這時候用瀏覽器打開是會報錯,原因是 CORS ,GCP agent javascript 不允許 localhost 呼叫。解法:用個你習慣的 Web framework 可以 host html 就可以。在這邊我就順便拿 Vercel Gemini ChatBot 專案練習一下前端手感好了 (?
Vercel Gemini chatbot: https://github.com/vercel-labs/gemini-chatbot
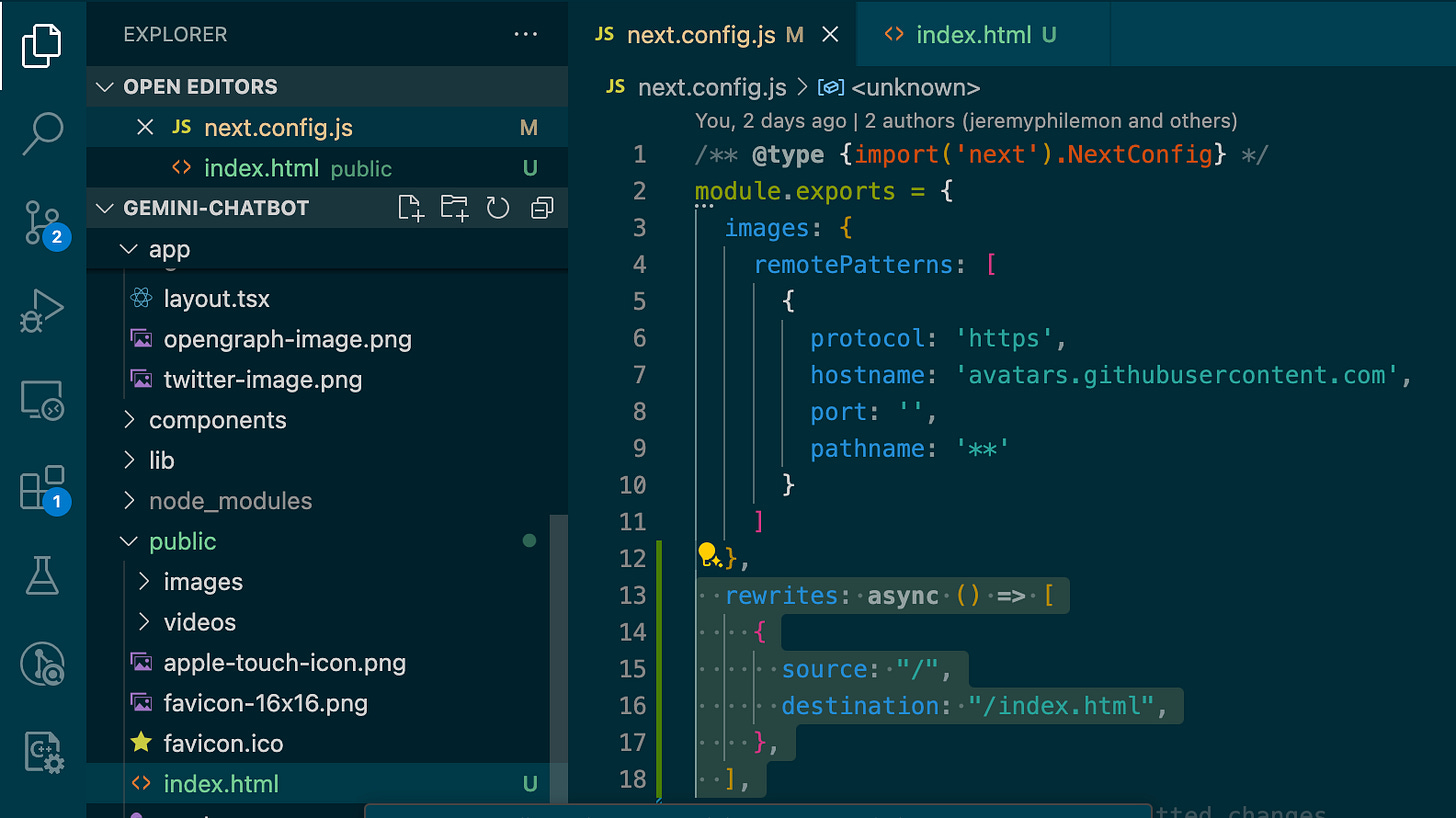
Step 05. 根據底下的截圖,將 index.html 放在 public 資料夾下,然後修改 next.config.js ,新增這段
  rewrites: async () => [
    {
      source: "/",
      destination: "/index.html",
    },
  ],
Step 06. 跑起 nextjs,收工


